
NetConnect Version 2.0
User's Manual
How to Connect to NetConnect V2.0 Wi-Fi
Wi-Fi Settings
To connect to NetConnect Wi-Fi and manage the login page, follow these steps:
1. Disable Auto-Login:
On your device, go to the Wi-Fi settings.
Find the NetConnect 2.4Ghz or NetConnect 5.0Ghz Wi-Fi network and select it.
There should be an option to disable "Auto-Login" or "Auto-Connect." Turn this option off. This prevents your device from automatically attempting to log in, which can prompt the login page.
2. Login Using the Browser:
Once connected to the NetConnect Wi-Fi network, open your preferred web browser.
You should be redirected to the NetConnect login page. If not, try going to a non-HTTPS website, or use the default login page URL if provided by the network.
Enter your login credentials on the page.
3. Bookmark the Login Page:
Once you've successfully logged in, bookmark the login page in your browser. This will allow you to easily access the page for future logins.
To bookmark the page, usually, you can click on the star icon next to the URL or use the bookmark option in the browser menu.
4. Accessing the Login Page Later:
When you need to log in again, connect to the NetConnect Wi-Fi and open your browser.
Use the bookmark you saved to access the login page directly.
By following these steps, you can streamline the process of logging in and out of the NetConnect Wi-Fi network without being repeatedly prompted by the login page.
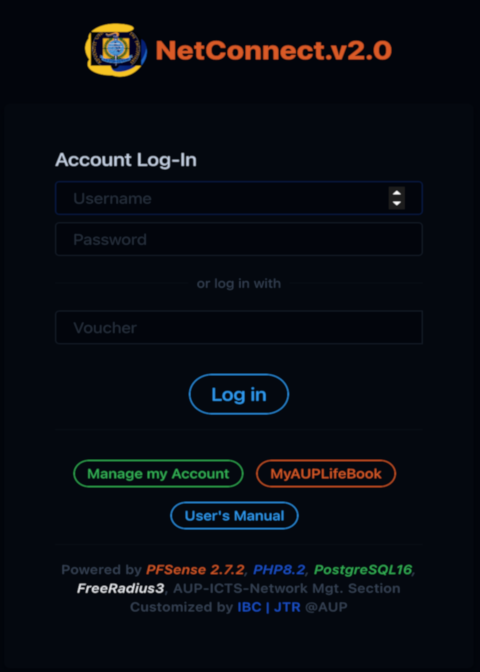
Login Page
Open the URL
https://netconnectv2.aup.edu.ph:8003/index.php?zone=netconnectv2 in your internet browser to open the login page.
It is advised that you save the login page so that you can quickly return to it in the unlikely event that the user closes it.
For now, use your MyAUPLifebook password as your temporary password and your ID number as your username.
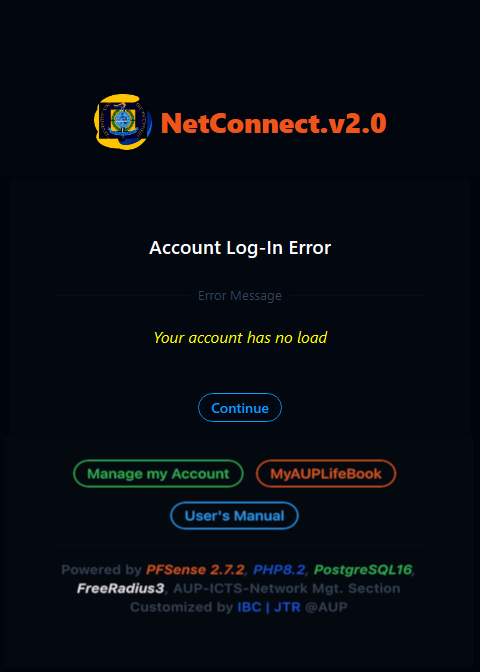
Error Page
Here are the error messages that will be shown under the specified conditions:
"Your account has no load"
This error will appear when a user logs in for the first time or when their allocated internet usage hours have been exhausted.
Please buy internet load at the University Store to recharge your account to continue accessing the service."
"Your maximum never usage time has been reached"
This error will appear when a user logs in with negative account balance.
Please buy internet load at the University Store to recharge your account to continue accessing the service."
"Invalid credentials specified"
This error will be displayed when a user enters incorrect login credentials (such as an incorrect username or password).
Please check your username and password and try again."
These messages are intended to provide clear guidance for users in both scenarios, helping them identify the cause of the issue and take appropriate action.

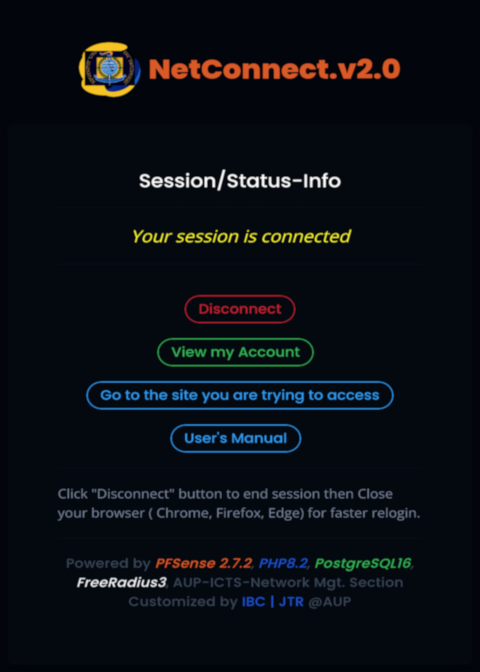
Logout Page
Once your account is successfully authenticated and your internet hours balance is verified, the Logout Page will be displayed. This page allows you to manage your internet connection.
Logout Page Features:
Disconnect Button: A button labeled “Disconnect” will be visible. Clicking this button will immediately stop your internet connection.
Important Note:
Do not close this page while using the internet. If you close it, you will not be able to access the page again to disconnect your session when you're finished using the internet. Keep this page open in a separate tab or window for easy access to disconnect later.
This Logout Page provides a simple way to manage your internet session without needing to log out of the system entirely.

User Account Management
How to open the User Account Management Module
There are 2 ways to open the User Account Management module: Click the button ”Manage my Account” that can be found on the Login Page, Error Page and Logout Page to manage your account.

Login Page
Error Page
Logout Page
You can also open the URL https://myauplifebook.aup.edu.ph/ncv2/user/ in your internet browser to manage your account.
User Account Management Login Page
On the User Admin login page, enter your ID number and select "Next." After entering your password, select "Sign in."
Note: For Smartphone or Tablet users :
Right after inputting your ID Number, hit the "Return" or "Enter" key instead of clicking the Next button to display the password input screen.

Enter your password then select "Sign in."

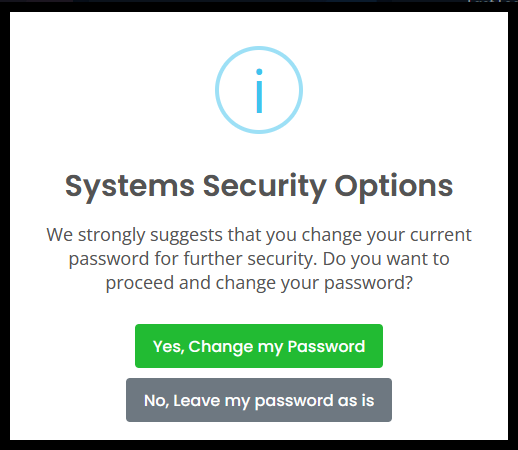
If you would prefer not to use your MyAUPLifebook password for your NetConnect account, you can change your password when you log in to the User Management module for the first time. To modify the password, click the "Yes, Change my Password" button to continue without changing the password, select the "No, Leave my Password As Is" button.
Changing User Account Password
If you would prefer not to use your MyAUPLifeBook password to access your NetConnect account, you have the option to modify your NetConnect password. Please be aware that altering your NetConnect password will not update your MyAUPLifebook password.
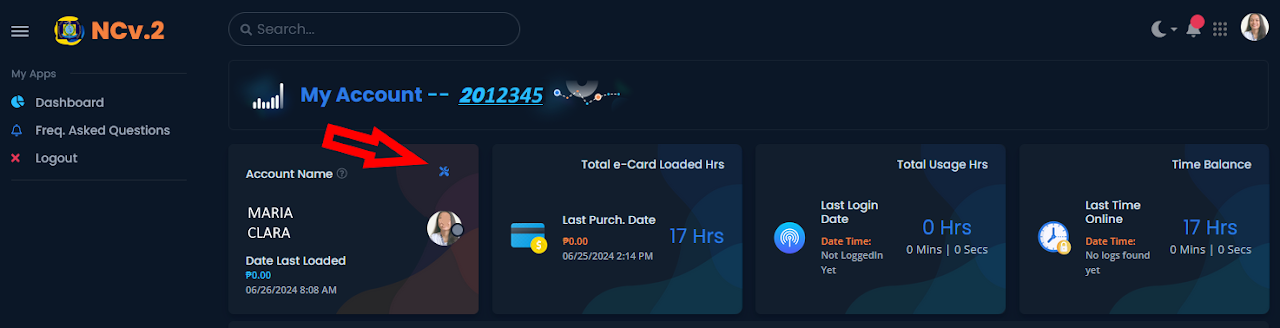
In the User Management module, click the icon as shown below.
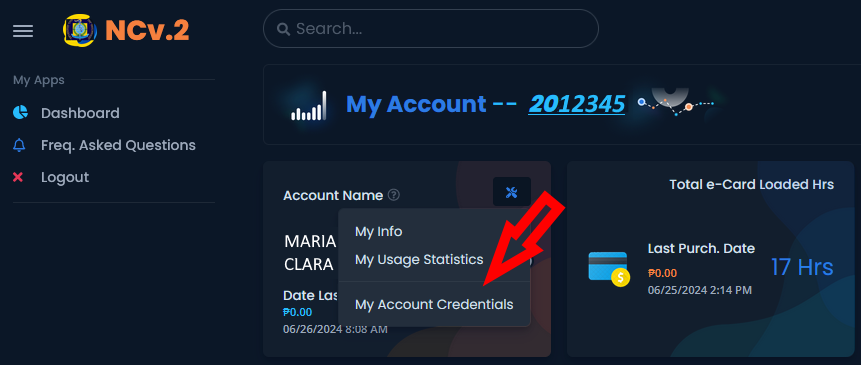
Click “My Account Credentials”
Enter your new password..
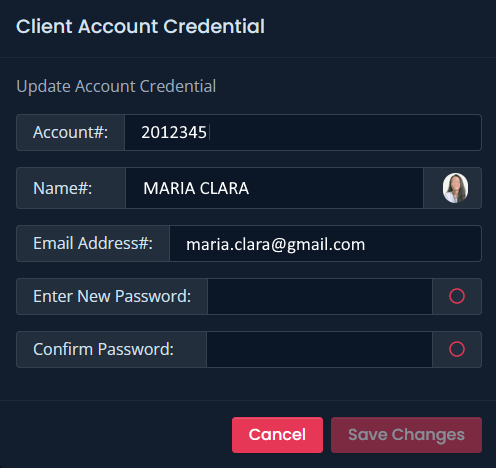
Confirm your new password then click the “Save Changes” button to proceed.
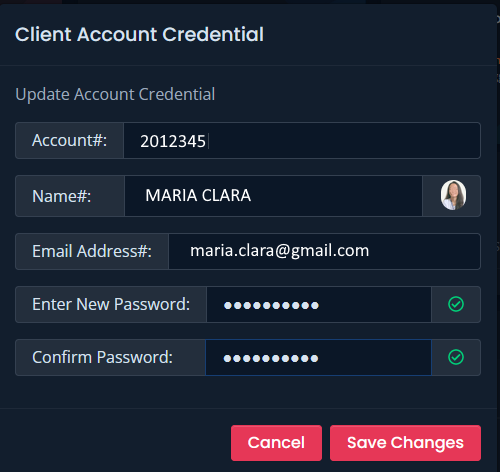
Note: Password requires at least 8 characters, uppercase letter, lowercase letter, numbers and symbols like @!#%&*
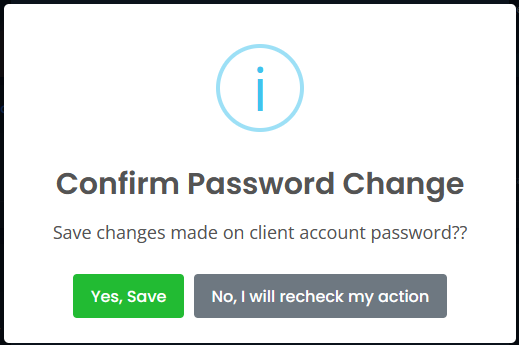
You have the option to proceed with the changes by clicking the “Yes, Save” button or “No, I will recheck my action” button to go back to the previous page.
Click “Yes, Save” button to confirm password change.
Changing a Forgotten User Account Password
If you can't remember your password, you can reset it. You need to be connected to the internet because you need to access your registered email address in your MyAUPLifebook account in resetting your password.
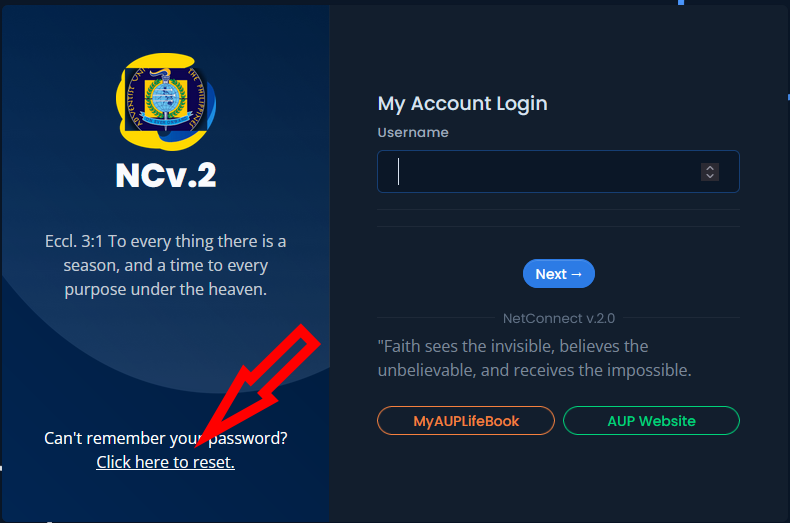
In the User Account Management Login Page, click the “Click here to reset” link.
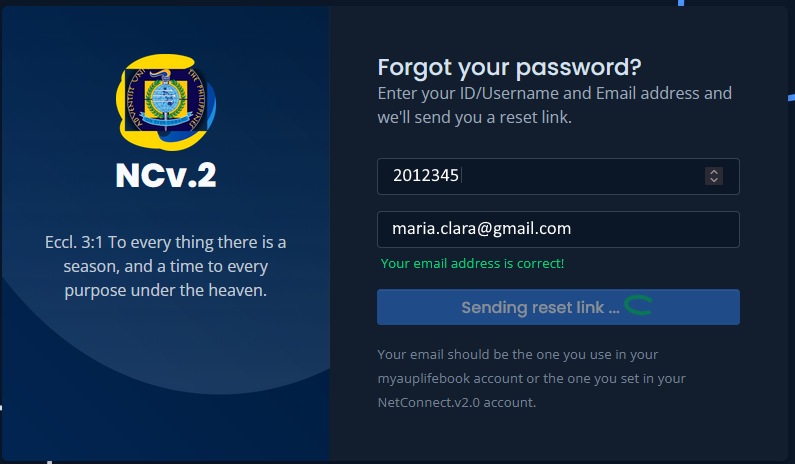
Enter your ID Number.
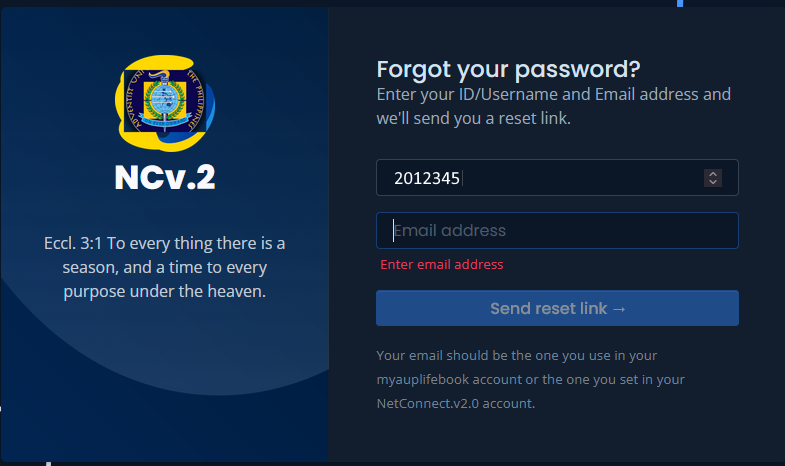
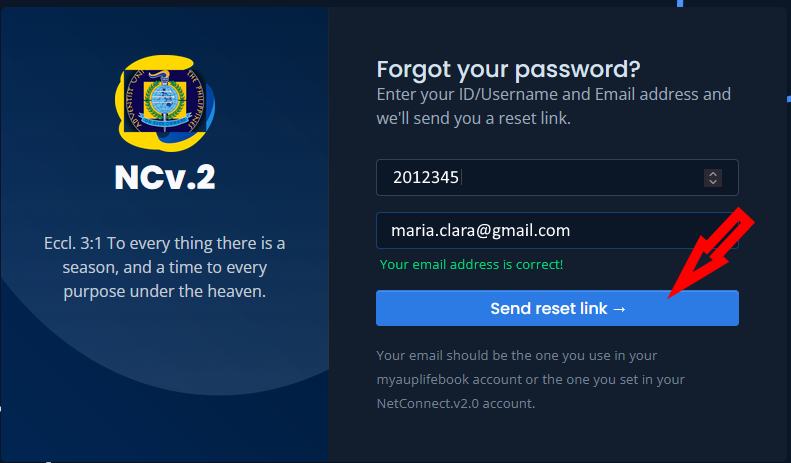
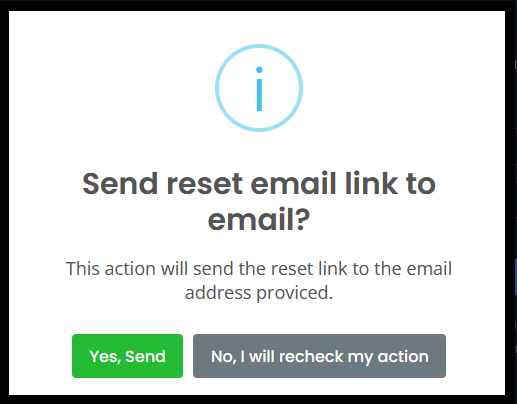
Enter your MyAUPLifebook registered Email address then click the “Send reset link" button.
Click “Yes, Save” button to confirm password change.
The system is sending an email with a link to reset your password, as indicated by a new window that opens.
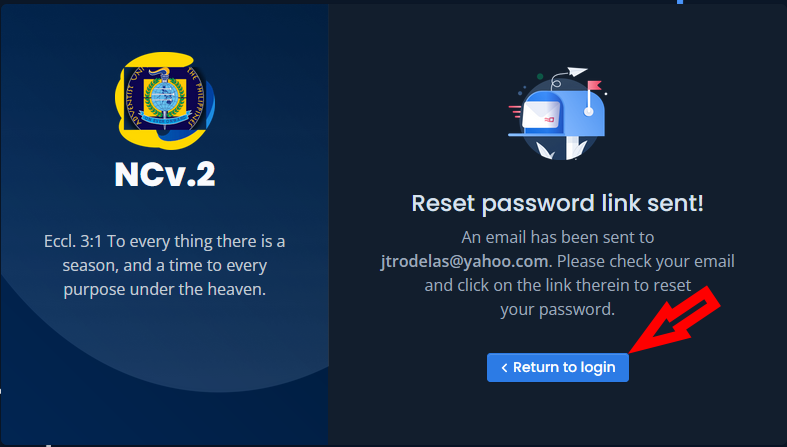
The window that appears shows that the password reset email was successfully sent by the system, and you can click the "Return to Login" button to return to the login screen.
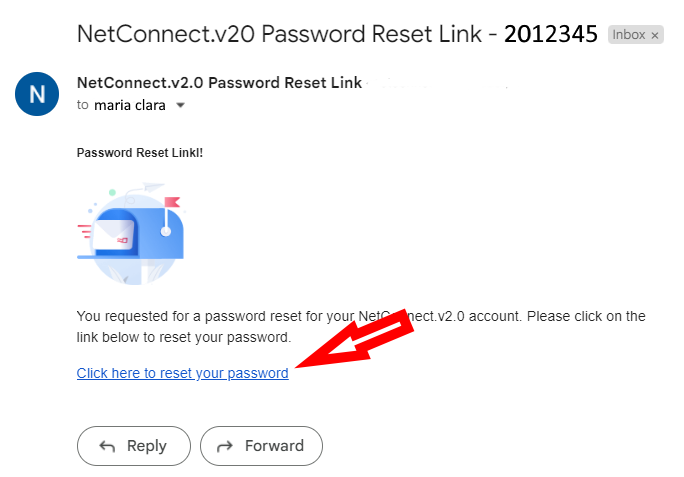
Open your email account and find an email coming from netconnect@aup.edu.ph with content as shown below. Click the link that says, “Click here to reset your password”.
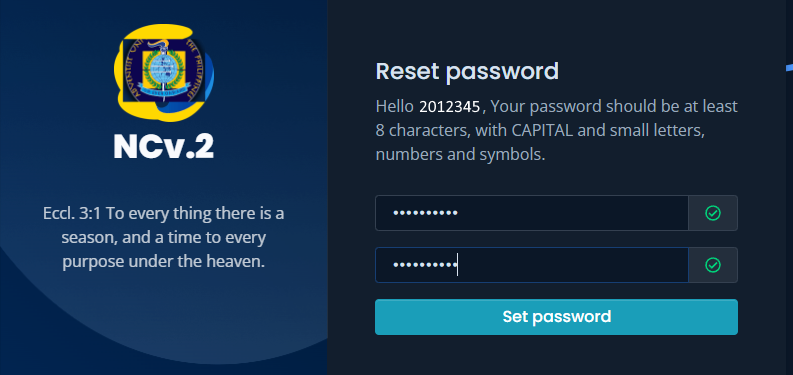
The “Reset password” window in your internet browser will open to reset your password.
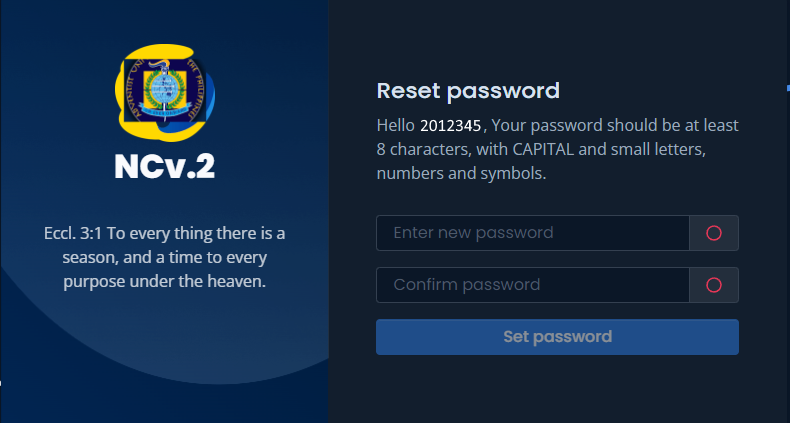
Enter your password and click the “Set password" button.
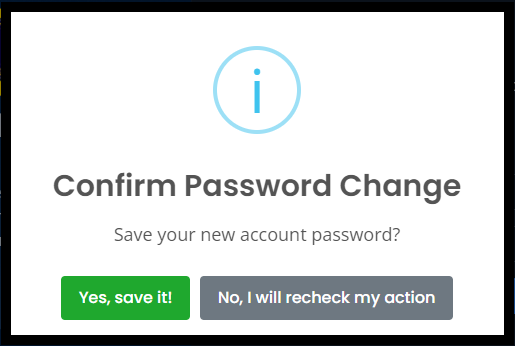
Click “Yes, save it!” button to confirm password change.
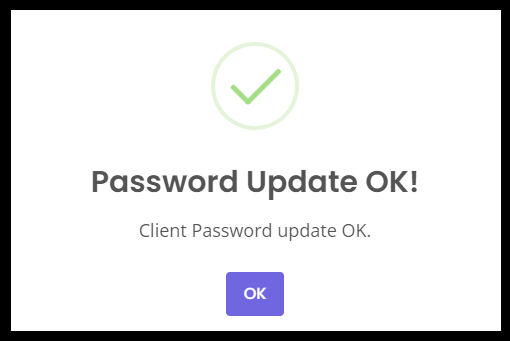
A new window will pop-up confirming password update. Click the “OK" button to close the pop-up window.
Balance Transfer from the MyAUPnetConnect Accounts
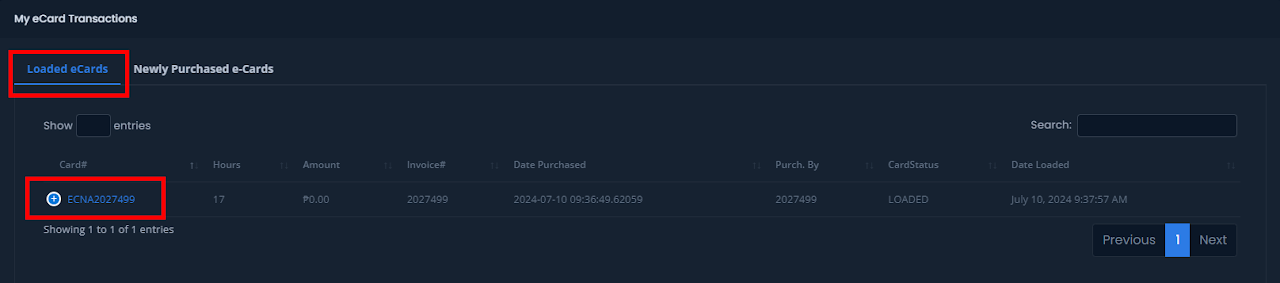
Balances from the old NetConnect account and the unused e-Cards is computed is converted into a single e-Card and is automatically loaded to your account. It is listed in the “Loaded e-Cards” tab under the “My e-Card Transaction” section of the dashboard.
Loading Commercial e-Cards
When you firstly open the User Account Management module, the user account balance is equivalent to the balance in the old system.

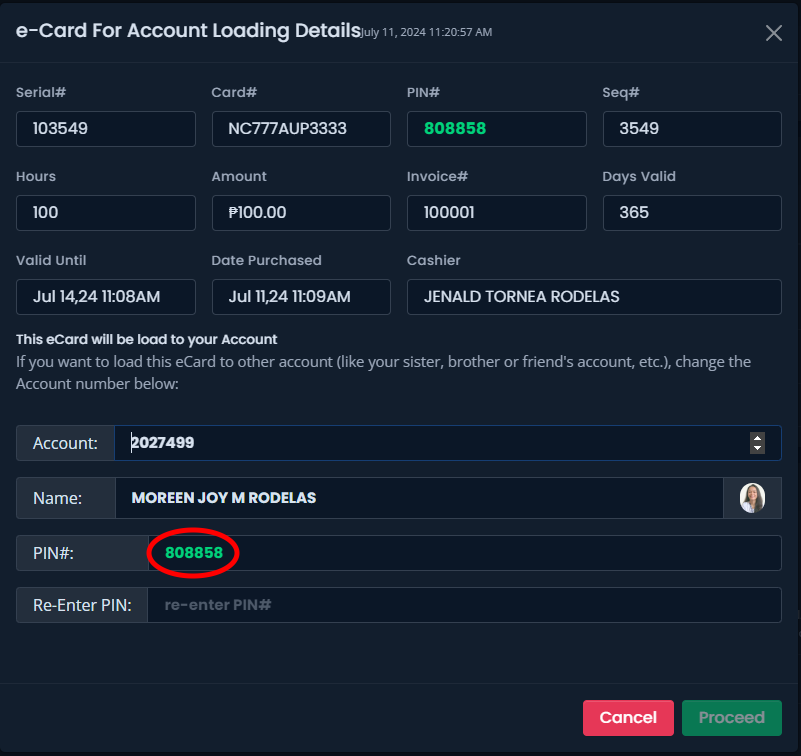
Your account balance and the unused e-Cards in the old system is computed and converted into a single e-Card. It is listed in the “Newly Purchased e-Cards” tab under the “My e-Card Transaction” section of the dashboard. The converted account balance is shown below. When you buy a commercial e-Cards at the University Store, it will be added in the list of “Newly Purchased e-Cards” as well. On the list of e-Cards, click the “LoadToAccount” button to load the e-Card into your account.

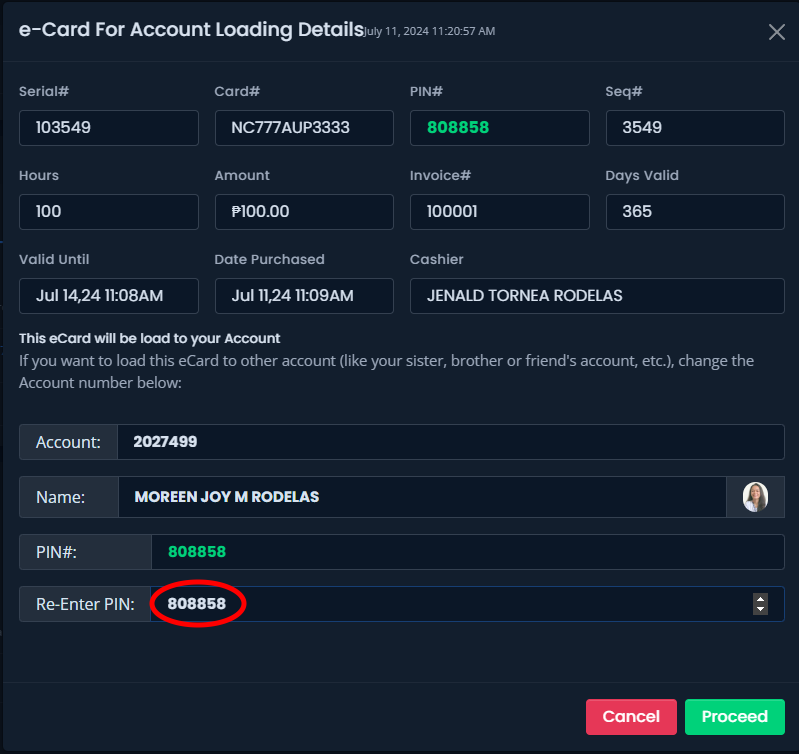
A new window is opened showing the details of the e-Card to be loaded. Re-enter the PIN on the space provided then click the “Proceed” button.
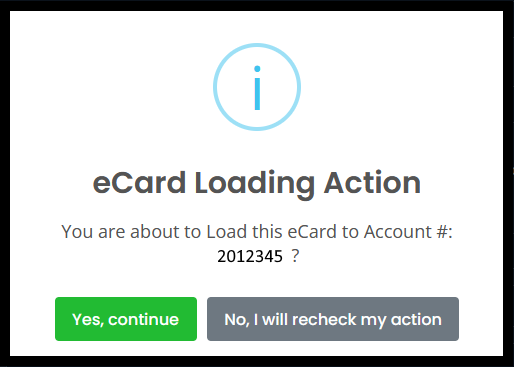
After verifying that the e-Card is loading, click "Yes, continue,"
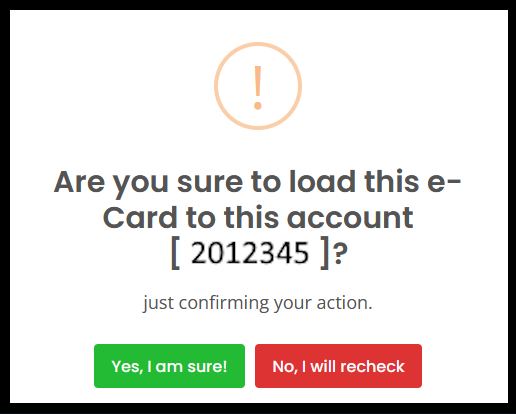
Click "Yes, I'm sure!" to verify that the e-Card is to be loaded.
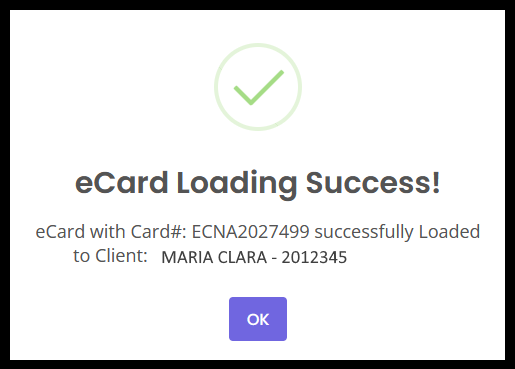
Click "OK" to finalized e-Card loading.
The equivalent hours of e-Cards is added to user’s account under the "Total e-Card Loaded Hrs" of the dashboard.

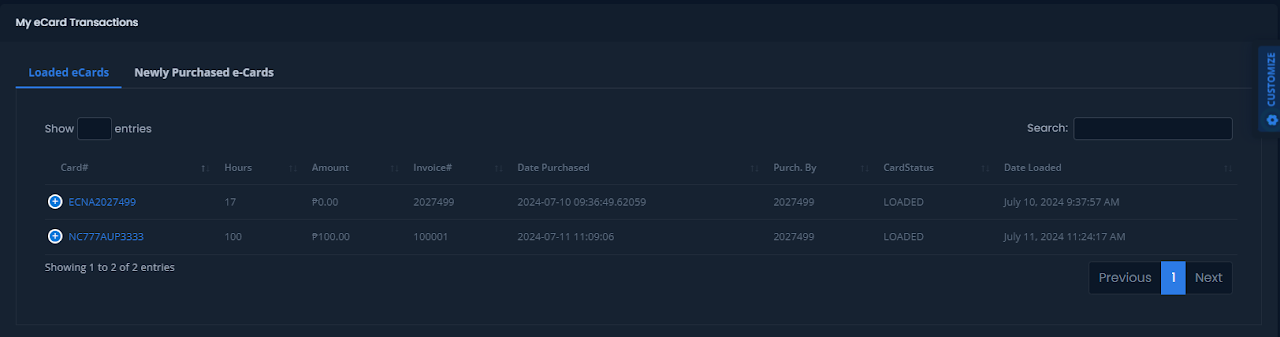
The e-Card that was loaded is now listed under the “Loaded e-Cards” of the “My eCard Transactions” section of the dashboard.
Understanding the User Account Management Dashboard

1. Account Name: This shows the name of the account owner, the date and the amount of the most recent e-Card loaded to this account and the picture of the account owner. You can also find on this section a settings icon where you can change your password.
2. Total e-Card Loaded Hrs: This shows the Total e-Cards Loaded Hours, the most recent e-Card purchased amount and date.
3. Total Usage Hrs: This shows the Total Hours used and the most recent login date and time
4. Time Balance: This shows the remaining internet hours and the last time online.
5. My Active Sessions/Connections: This shows the list of active sessions/device connected to the internet that have the option to terminate the session by clicking the "logout" button.
6. Loaded e-Cards: This section shows the list of e-Cards loaded to your account.
7. Newly Purchased e-Cards: This section shows the list of purchased e-Cards that can be loaded to your account.
Types of e-Cards
Semestral e-Card:
For undergraduate and graduate students, this type of e-card is loaded to students NetConnect accounts after the Records and Admissions Office (RAO) validates their Student's ID in the final steps of the Pre-registration/Registration process of each term. AUP Academy students are also intitled to this type of e-Card as long as they are officially enrolled during the term.
1st Semester e-Card - equivalent to 100 of internet hours
2nd Semester e-Card - equivalent to 100 of internet hours
Inter-Sem e-Card - equivalent to 50 of internet hours
Commercial e-Card:
Students have the option to load/re-load their NetConnect account by purchasing the Commercial e-Card at the University Store with the following denominations:
P100 - equivalent to 100 internet hours
P200 - equivalent to 200 internet hours
Number of Device
The system is designed to accept multiple devices per user account. The counting of hours used is tracked per device, and the consumption from each device is deducted from your internet hours balance. For example, if device 1 consumes 1.5 hours and device 2 consumes 2 hours, the total internet hours consumed will be 3.5 hours, which will be deducted from your account balance.
How do I track my usage?
To track your usage, follow these steps:
Log into the Wi-Fi Management Portal:
Access the AUP NetConnect portal using your credentials.
Navigate to the Access Logs Section:
Once logged in, go to the section labeled "Access Logs".
View Detailed Usage:
Here, you will see a detailed breakdown of your internet hours consumed, listed by each device connected to your account.
Check Total Hours Used:
The portal will display the total hours used and the remaining balance of your internet hours.
If you have any difficulties or need further assistance, contact the ICT support team for help with tracking your usage.